Why Remove Old Thermal Paste?
Thermal paste is not a permanent solution. Over time, its performance degrades due to several factors:
- Degradation Over Time: Prolonged exposure to heat and thermal cycling (repeated heating and cooling) can cause thermal paste to dry out, crack, or lose its thermal conductivity. This degradation reduces its effectiveness, leading to higher CPU temperatures.
- CPU or Cooler Upgrades: When installing a new CPU or a new CPU cooler, it is essential to remove the old paste from both the old component (if reusing the cooler) and the IHS/new cooler to ensure a fresh, optimal thermal interface.
- Routine Maintenance: For enthusiasts and those seeking peak performance, periodic reapplication (e.g., every 1-3 years, though this varies) can help maintain optimal cooling.
- Troubleshooting Overheating Issues: If a PC starts running hotter than usual or experiences thermal throttling, old or poorly applied thermal paste could be a culprit.
Signs Your Thermal Paste Might Need Replacing:
Identifying when to replace thermal paste is crucial for maintaining system health. Common indicators include:
- A gradual increase in CPU temperatures under normal load.
- The CPU fan running louder or more frequently than usual.
- Performance throttling during demanding tasks, potentially due to CPU overheating.
- If it has been several years since the last application.
Understanding these replacement triggers helps users act before problems escalate. Rather than waiting for system instability due to overheating, proactively replacing paste during upgrades or scheduled maintenance is a more forward-thinking approach to hardware care. The "lifespan" of thermal paste is not fixed; it is influenced by the paste's quality, system usage intensity, and operating environment. Therefore, users should make an informed judgment based on their specific situation.
Section 2: Safety First: Essential Precautions Before You Begin
Before starting the thermal paste removal process, taking appropriate safety precautions is crucial to prevent accidental damage to your computer hardware.
- Power Down Completely: Ensure the PC is fully shut down via the operating system, then switch off the Power Supply Unit (PSU) using its switch (if available), and finally unplug the main power cord. This is fundamental to prevent any electrical mishaps during the process.
- Electrostatic Discharge (ESD) Protection: Static electricity is an invisible threat to sensitive electronic components. Before touching any internal parts, always discharge any static electricity from your body. Using an anti-static wrist strap connected to a bare metal part of the PC case is highly recommended. If a wrist strap is unavailable, frequently touch a grounded metal object (like the PC case's unpainted metal) before and during handling components.
- Work Environment: Choose a clean, well-lit, and preferably non-carpeted area to work in. This minimizes dust and the risk of static buildup. Ensure you have a clear workspace to lay out tools and components.
- Gentle Warming (Optional but Recommended): Old thermal paste can sometimes harden and act like an adhesive, making the heatsink difficult to remove. A "cold pull" (forceful removal without softening) can potentially damage the CPU or socket. It is advisable to run the PC for a few minutes (e.g., a light task or benchmark) to warm up the CPU and soften the paste before shutting down and starting the removal process. Caution: The heatsink will be warm after this step, so handle it carefully. Alternatively, if the PC hasn't been run, a hairdryer on a low setting can be used cautiously to warm the heatsink area to achieve a similar effect. Emphasizing the risk of a "cold pull" is vital, as this can lead to the CPU being pulled out of its socket or damage to CPU pins and the motherboard socket.
- Heatsink Removal Caution: Heatsink mounting mechanisms vary. If unsure, consult your CPU cooler's manual. When removing, apply gentle, even twisting motions if the heatsink feels stuck, rather than pulling straight up with excessive force.
ESD may not always cause immediate component failure but can lead to latent damage. Therefore, reinforcing ESD precautions is equally important for both novices and experienced users.
Section 3: Gathering Your Arsenal: Tools and Materials Checklist
Having the right tools and materials on hand will make the thermal paste removal process smoother, safer, and more effective. Below is a recommended checklist:
| Item |
Specification/Notes |
| Isopropyl Alcohol (IPA) |
90% concentration or higher is strongly recommended for effective cleaning and quick evaporation. 70% can work but dries slower. |
| Lint-Free Cloths |
Microfiber cloths are ideal. Coffee filters are a good alternative. Avoid paper towels that can leave fibers. |
| Cotton Swabs (Q-tips) |
For cleaning edges, crevices, and small, hard-to-reach areas. Some users prefer foam swabs to avoid lint. |
| Anti-Static Wrist Strap (Recommended) |
To prevent ESD damage to sensitive components. |
| Small, Non-Metallic Pry Tool or Spudger (Optional, Use with Extreme Caution) |
For very carefully helping to lift a stuck heatsink or dislodge extremely stubborn, caked-on paste. Plastic is preferred over metal to avoid scratches. This tool is more for dislodging the cooler if stuck after warming, not for scraping the CPU directly. |
| Protective Gloves (Optional) |
To keep hands clean and prevent skin oils from contaminating surfaces. |
| Small Container or Tray |
To hold screws and small parts removed from the cooler. |
Optional Specialized Cleaners:
Dedicated thermal paste remover solutions. These can be more convenient or effective for very stubborn paste but are not strictly necessary if high-purity IPA is used correctly.
The imperative to use "lint-free" cleaning materials cannot be overstated. Residual lint can interfere with the new thermal paste's contact and thermal conductivity. Regarding IPA concentration, higher purity (>90%) means faster evaporation, reducing waiting time and the risk of residual moisture.
Section 4: The Clean Sweep: A Step-by-Step Guide to Removing Thermal Paste
With safety precautions understood and tools gathered, you can now proceed with removing the old thermal paste. These steps will guide you through the process safely and effectively.
Step 1: Prepare Your Workspace and PC
- Recap safety: Ensure the PC is completely powered off, unplugged, and ESD precautions are in place. Work in a well-lit area.
Step 2: Carefully Removing the CPU Cooler
- Consult the cooler manufacturer's manual if you are unsure about the removal process for your specific model.
- Loosen screws or retention clips gradually and in a diagonal or crisscross pattern to release pressure evenly. This prevents warping the cooler or damaging the CPU and motherboard.
- If the cooler feels stuck after unfastening, gently twist it side-to-side to break the seal of the old paste. Do not pull straight up with excessive force, especially if the paste was not warmed beforehand.
- Once loose, lift the cooler straight up and away. Place it with the heatsink contact surface facing upwards on a non-conductive surface.
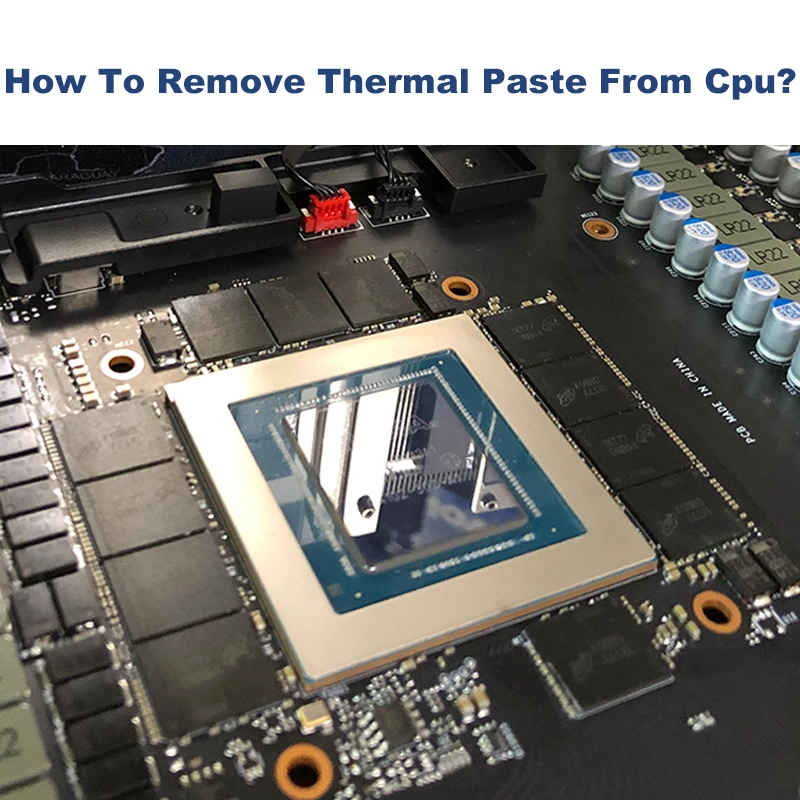
Step 3: Cleaning Thermal Paste from the CPU (Integrated Heat Spreader - IHS)
- Initial Removal (if a lot of paste is present): If there's a large blob of paste, you can gently wipe off the excess with a dry section of your lint-free cloth or a plastic scraper (being extremely careful not to scratch the IHS or surrounding components). The primary cleaning tools should be a lint-free cloth and IPA.
- IPA Application: Moisten a lint-free cloth or coffee filter with 90%+ isopropyl alcohol. It should be damp, not soaked.
- Wiping Technique: Gently wipe the thermal paste off the CPU's IHS.
- Use light pressure and circular motions or wipe from the center outwards. The goal is to lift the paste, not smear it further.
- Frequently switch to a clean section of the cloth to avoid reapplying old paste.
- For stubborn paste, allow the IPA to sit on it for a few moments (a few tens of seconds to a minute) to help dissolve it before wiping.
- Cleaning Edges and Crevices: Use a cotton swab (or foam swab) lightly dampened with IPA to clean around the edges of the IHS and any nooks where paste might have squeezed out. Be careful not to get excessive alcohol on the motherboard or into the CPU socket.
- CPU in Socket: It is generally recommended to clean the CPU while it is still secured in its socket to minimize handling and reduce the risk of damaging pins (especially on PGA CPUs).
Step 4: Cleaning Thermal Paste from the Heatsink
- The process is similar to cleaning the CPU. Apply IPA to a lint-free cloth and wipe the contact plate of the heatsink until all old paste is removed.
- Heatsinks often have grooves or textured surfaces; cotton swabs can be useful here too.
- It's often easier to clean the heatsink first to gauge how stubborn the paste is.
Step 5: Tackling Stubborn or Dried Paste
- Patience and More IPA: Apply more IPA and let it soak for a longer period (a minute or two) to soften the paste.
- Gentle Pressure: Continue wiping gently. Avoid aggressive scraping, especially on the CPU IHS.
- Non-Metallic Scraper (Last Resort): If absolutely necessary and with extreme caution, a soft plastic scraper (like a guitar pick or the edge of an old credit card) can be used to gently lift flakes of very dry, caked-on paste after it has been softened with IPA. Never use metal tools directly on the IHS. The primary method should always be dissolution with IPA.
- Specialized Cleaners: This is where dedicated thermal paste removers (e.g., ArctiClean ) can be particularly helpful as they are formulated to break down stubborn compounds.
Step 6: Final Inspection and Ensuring Surfaces Are Dry
- Once all visible paste is removed from both the CPU and heatsink, give both surfaces a final wipe with a clean, IPA-dampened cloth section, followed by a dry, clean, lint-free cloth section if desired, or simply allow to air dry.
- Inspect closely under good light to ensure no residue, lint, or smudges remain.
- Allow ample time for any residual IPA to fully evaporate (usually a few minutes) before proceeding to apply new paste. Surfaces must be completely dry.
The "gentle but firm" principle in cleaning highlights the need for thoroughness without abrasiveness. Aggressive cleaning can scratch surfaces, while insufficient cleaning leaves residue.
Section 5: After the Cleanup: Preparing for Fresh Application
Once the old thermal paste is completely removed and the surfaces of the CPU and heatsink are clean and dry, the preparation for applying new thermal paste is complete. Using a high-quality new thermal paste is crucial for optimal heat transfer and the longevity of your CPU. Poor quality paste can negate the benefits of a thorough cleaning.
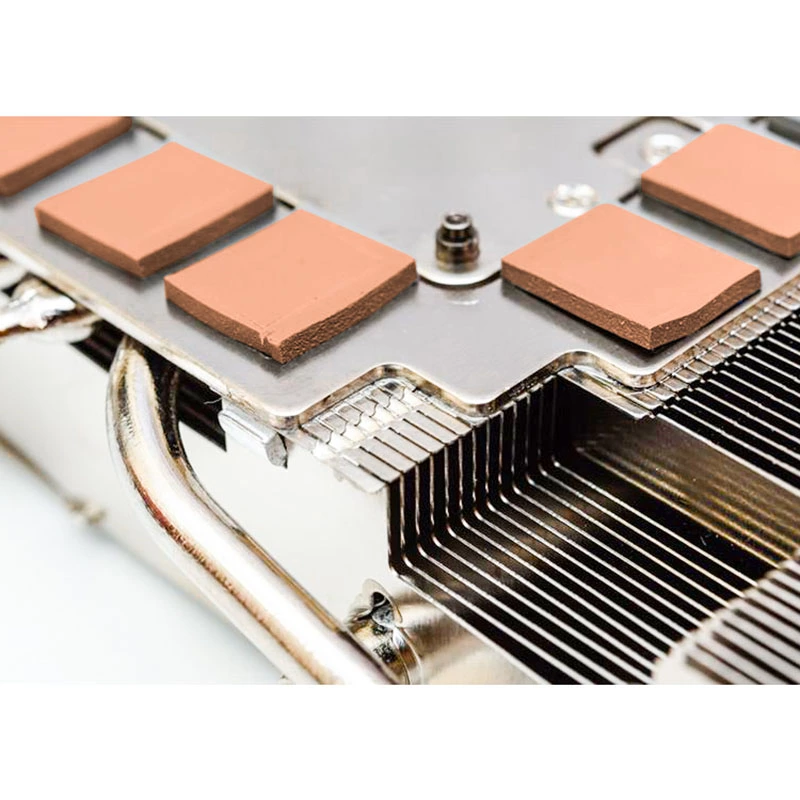
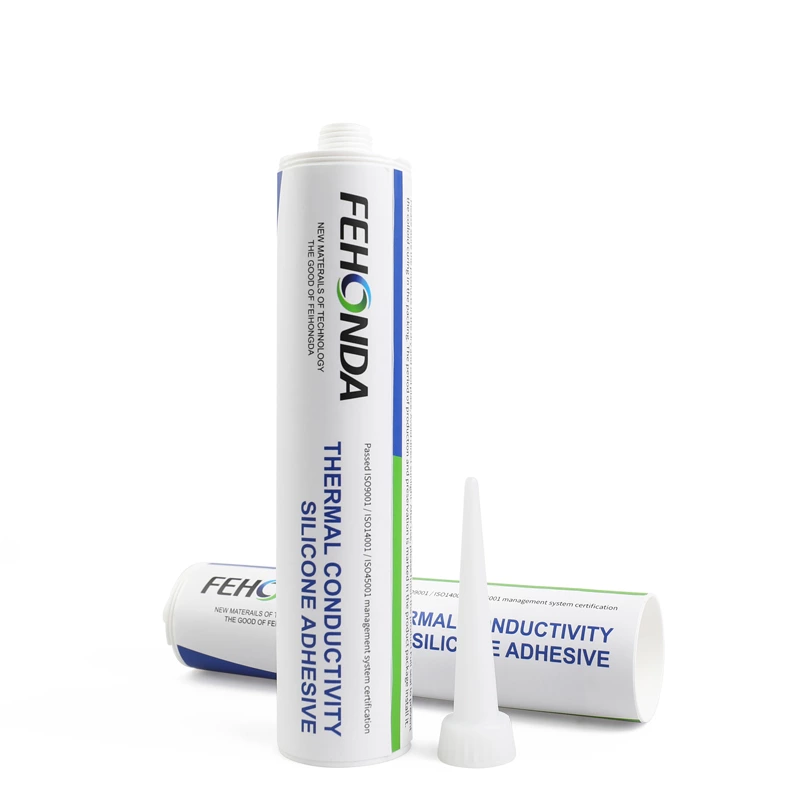
Choosing the right Thermal Interface Material (TIM) is a key step. Whether it's a high-performance paste for the CPU or a quality thermal pad for other components like VRAM or SSDs , ensuring good thermal contact is paramount. Some brands specialize in thermal management solutions. For instance, certain thermal paste products are engineered for excellent thermal conductivity and may come with application tools, such as Fehonda TR50 which includes a spreader and stencil, to facilitate a clean and effective application, helping to maximize CPU cooling performance.
Briefly, the application process for new paste also requires care, including using the correct amount and ensuring an even spread. This naturally leads to the next step: how to correctly apply new thermal paste, which is typically covered in a separate, dedicated guide.
Section 6: Troubleshooting & FAQs
Even with careful adherence to the steps, minor issues can arise. This section provides solutions to common mistakes and answers frequently asked questions.
Common Mistakes to Avoid During Thermal Paste Removal
| Mistake |
Correction/Tip |
| Using too little or too much Isopropyl Alcohol. |
Use a cloth that is damp, not soaked. Excess liquid can run onto other components. Too little won't dissolve paste effectively. |
| Using abrasive materials or metal scrapers directly on the CPU IHS. |
Stick to lint-free cloths and swabs. If a scraper is absolutely needed for caked-on paste, use soft plastic with extreme caution and only after softening with IPA. |
| Leaving lint or residue behind. |
Use high-quality lint-free materials (microfiber, coffee filters). Inspect carefully before applying new paste. |
| Rushing the process or applying uneven pressure during cooler removal/reinstallation. |
Take your time. Apply even pressure and use a crisscross pattern for screws to prevent damage. |
| Not allowing surfaces to dry completely. |
IPA evaporates quickly, but ensure no visible moisture remains before applying new paste. |
| Forgetting ESD precautions. |
Always ground yourself to prevent static damage to components. |
Frequently Asked Questions (FAQs):
- Q1: How often should I remove and reapply thermal paste?
- A: Generally, every 1-3 years for proactive maintenance, or whenever you change your CPU/cooler, or if you notice consistently high CPU temperatures. The lifespan of thermal paste depends on its quality, system usage, and operating conditions.
- Q2: What if I spill Isopropyl Alcohol on the motherboard or other components?
- A: Don't panic. Ensure the PC is unplugged. High-purity IPA (>90%) evaporates quickly and is non-conductive once dry. Gently blot up any excess liquid with a lint-free cloth and allow ample time for it to dry completely (e.g., 30 minutes to an hour, or use a gentle flow of air) before powering on. Avoid saturating components.
- Q3: Can I use something other than Isopropyl Alcohol?
- A: High-purity IPA (>90%) is highly recommended. Some specialized thermal paste removers are also effective. Acetone can be used but is more aggressive and should be handled with more care. Avoid oil-based cleaners or solutions with low alcohol content, as they can leave residue or damage components.
- Q4: What's the best way to clean very old, dried-on thermal paste?
- A: Let IPA soak on the paste for several minutes to soften it. Use gentle, persistent wiping. For extremely stubborn cases, after soaking, a very soft plastic tool can be used with extreme caution to lift edges, but avoid scratching. Warming the heatsink (as per Section 2) can also help initially.
- Q5: Do I need to remove the CPU from the socket to clean it?
- A: It's generally safer to clean the CPU while it is still secured in its socket to minimize handling and risk of bending pins (especially on PGA CPUs) or damaging the socket.
By anticipating user questions and potential issues, this section aims to be thorough and user-centric, reinforcing crucial safety and efficacy points.
Section 7: Conclusion: Maintaining Optimal CPU Performance
In summary, the proper removal of old thermal paste is a critical step in PC maintenance and upgrades. A clean surface is essential for the effective application of new thermal paste, which in turn leads to optimal CPU cooling, stable performance, and potentially a longer lifespan for your components.
Performing this maintenance task with care and patience, following the outlined steps, is encouraged. Investing a little time in proper thermal interface management can yield significant benefits in your computing experience, ensuring your processor operates at its designed optimal state. This not only fixes potential overheating issues but also acts as an investment in the overall health and longevity of your PC.