Standard Operating Procedure (4-Step Sequence)
Step 1: Thorough Surface Cleaning (Most Critical)
Procedure: Use high-purity isopropyl alcohol (IPA) or a specialized cleaner with a lint-free cloth to thoroughly wipe the surfaces of the substrates (chips, heat sinks, and housings). All oil, dust, rust, and release agents must be removed.
Note: Residual oil on the surface is the primary cause of RTV bonding failure (delamination).
Step 2: Dispensing and Application (Controlling Adhesive Volume and Shape)
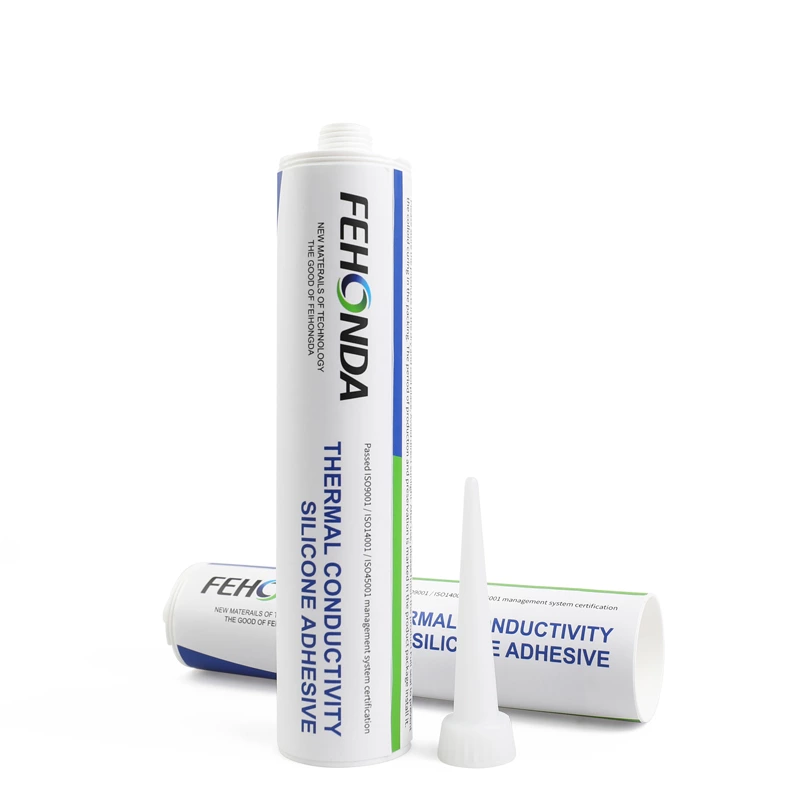
Procedure: Pierce the tip of the adhesive tube and select dispensing, S-shaped, or spiral application based on the bonding area. For heat sink bonding, it is recommended to apply adhesive at the center of the chip and allow it to spread naturally through compression.
Professional Recommendation: The adhesive layer thickness should be controlled between 0.5 mm and 2 mm. Excessive thickness increases thermal resistance and slows curing; insufficient thickness may result in incomplete filling.
Step 3: Rapid Assembly and Alignment (The Critical 10-Minute Window)
Procedure: Assembly and positioning must be completed within 10–20 minutes after applying the adhesive. Align the heat sink or component, apply light pressure, and adjust to the final position.
Key Action: RTV begins surface drying upon contact with air; if the operation window is exceeded, bonding strength will significantly decrease.
Step 4: Curing and Aging (Wait Patiently)
Procedure: After assembly, allow the assembly to cure undisturbed at room temperature (25°C). Serviceable strength (curing depth of 2–4 mm) is achieved within 24 hours, but full cure (deep curing) requires 3–7 days.
Environmental Factors: Low temperatures (<15°C) or low humidity will significantly prolong curing time; use heating equipment if necessary.

Key Precautions (Guide to Avoiding Pitfalls)
1. Warning: Irreversible Application
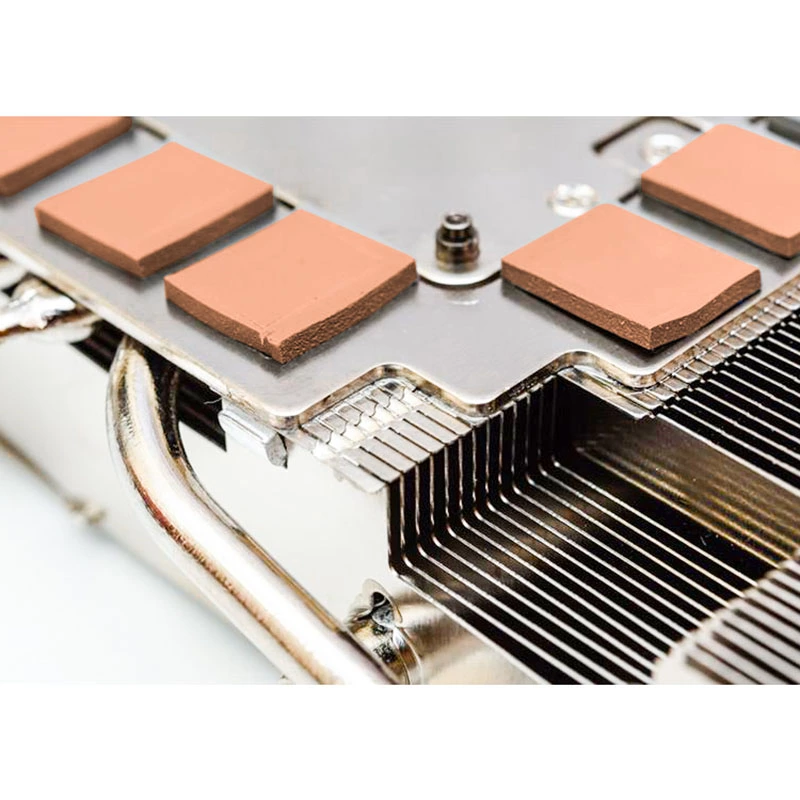
RTV thermal adhesive cannot be removed once cured. Forcing it open will almost certainly damage the chip or PCB pads. Therefore, the use of RTV on removable cooling components such as CPUs and GPUs is strictly prohibited; it is only suitable for permanent mounting applications (e.g., MOSFET heat sinks, power modules).
2. Conductivity Risks and Insulation Properties
Most RTV thermal adhesives are insulating (filled with insulating fillers such as alumina). However, if conductive adhesives containing metallic fillers are mistakenly used, they can cause short circuits. Before use, always verify the product’s insulation rating to avoid applying it to gold fingers or circuit traces.
3. Curing Mechanism (Moisture-Curing)
RTV relies on absorbing moisture from the air to cure. Consequently, the curing rate within the adhesive layer (especially in thick layers) is much slower than at the surface. Do not perform vibration testing or high-temperature aging until the adhesive is fully cured.
4. Storage and Shelf Life
RTV adhesives must be stored in a sealed container in a cool place (recommended temperature: 5–25°C). If a skin forms on the tube opening, this is normal; the product remains usable after removing the surface layer. Once opened, use the product as soon as possible.
5. Safety and Protection
Trace amounts of acetic acid (acidic odor) or alcohols may be released during curing; operate in a well-ventilated area. In case of accidental contact with skin or eyes, rinse immediately with plenty of water and seek medical attention.