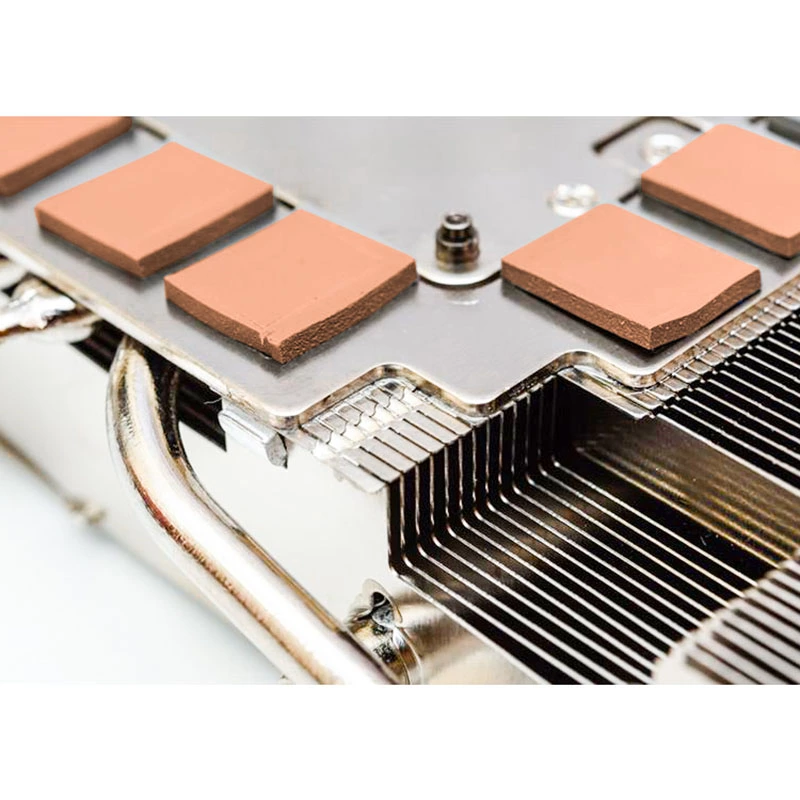
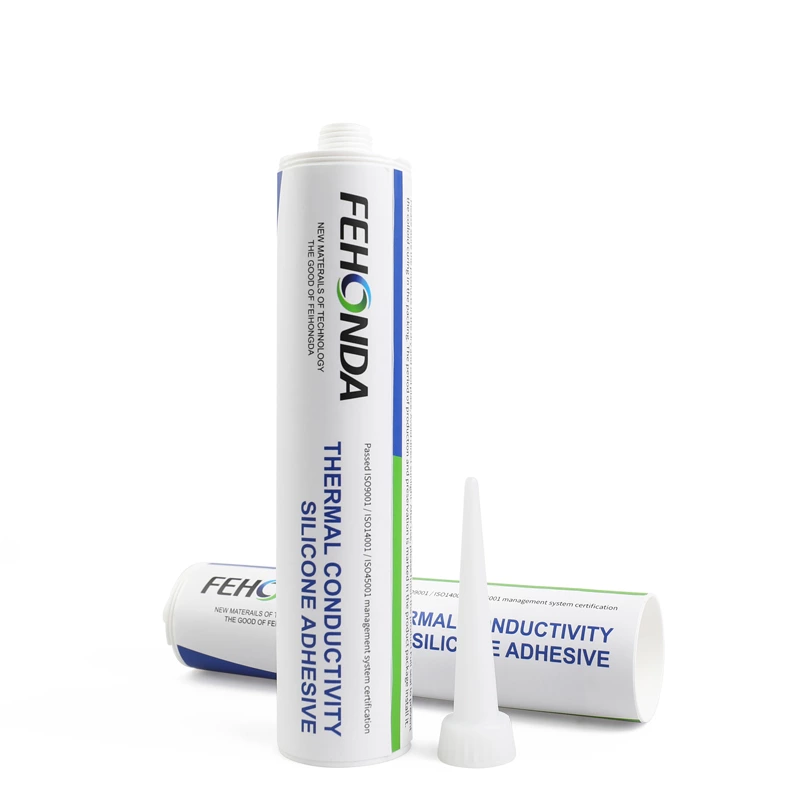
The correct installation sequence is key to ensuring that the phase-change pad fully fills the gap and achieves the lowest thermal resistance. Please strictly follow the steps below:
Step 1: Deep Cleaning (Degreasing and Dust Removal)
Procedure: Use a non-woven cloth or cotton swab dipped in high-purity isopropyl alcohol (IPA) to thoroughly wipe the surface of the heat sink base and the chip (CPU/GPU). Ensure that all old thermal paste, grease, and dust are removed.
Note: Avoid using linty cloths to prevent fiber residue from affecting adhesion.
Step 2: Peel and Position (Peel One Side First)
Procedure: Remove the sheet from the phase-change pad packaging and peel off the protective film (usually a transparent film) from only one side. Apply the exposed adhesive side flat against the heat sink base.
Expert Tip: Apply the pad to the heatsink first to facilitate subsequent position adjustments and avoid direct contact with the delicate chip.
Step 3: Pre-pressing and Air Removal
Procedure: Using your fingers or a soft scraper, gently press the phase-change pad from the center outward to expel any trapped air. Ensure the pad is fully adhered to the heatsink with no air bubbles.
Step 4: Assembly and Curing (Remove the Other Protective Film + Tighten)
Procedure: Peel off the protective film from the other side of the phase-change pad (usually blue or green). Align the heat sink with the chip and install it, tightening the screws in a diagonal sequence to apply even pressure.
Key Action: After installation, perform the initial high-temperature curing (see Notes below).

Key Precautions (Guide to Avoiding Common Pitfalls)
1. Never Stack Multiple Sheets
Phase-change sheets have a specific thickness; never stack two or more sheets to increase the thickness. This will cause a sharp increase in thermal resistance, which will actually reduce heat dissipation. If the gap is too large, choose a single, thicker phase-change sheet or use a thermal pad.
2. “Burn-in” Activation is Mandatory
Phase-change pads undergo a phase transition (softening) only at temperatures between 45–60°C. After installation, run the device at full load (e.g., running AIDA64 FPU or FurMark) for at least 30 minutes to allow the material to fully melt and fill microscopic gaps. This process is known as the “break-in period.”
3. Protective Films Must Be Fully Removed
The protective film is insulating; both sides must be completely removed. There have been cases where users forgot to remove the film, resulting in CPU temperatures spiking by over 20°C.
4. Replacement is recommended after disassembly
After undergoing a single phase-change cycle, the physical properties of the thermal pad are altered. If the heatsink is disassembled, it is strongly recommended to replace the thermal pad with a new one, as the old pad cannot regain its original flatness, and reinstallation is likely to create air gaps.